A image can work as a wallpaper template if rendered with some settings that will enable novaskin to read the texture uv map from the player. Basically you need to use this special skin download and put it in a material that will not be affected by lights, so the colors remain unchanged in the final rendered image, if we get a pixel from the steve’s face, the pixel color is exactly the same from the skin texture.
skin without second layer
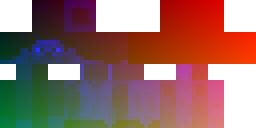
skin with second layer

This skin map the coordinates as red and green color components, red is U and green is V. The pixel from a coordinate x, y has the rgb color (red=x, green=y, blue: unused).
##Also check: spanish tutorial by @arcike999 ##
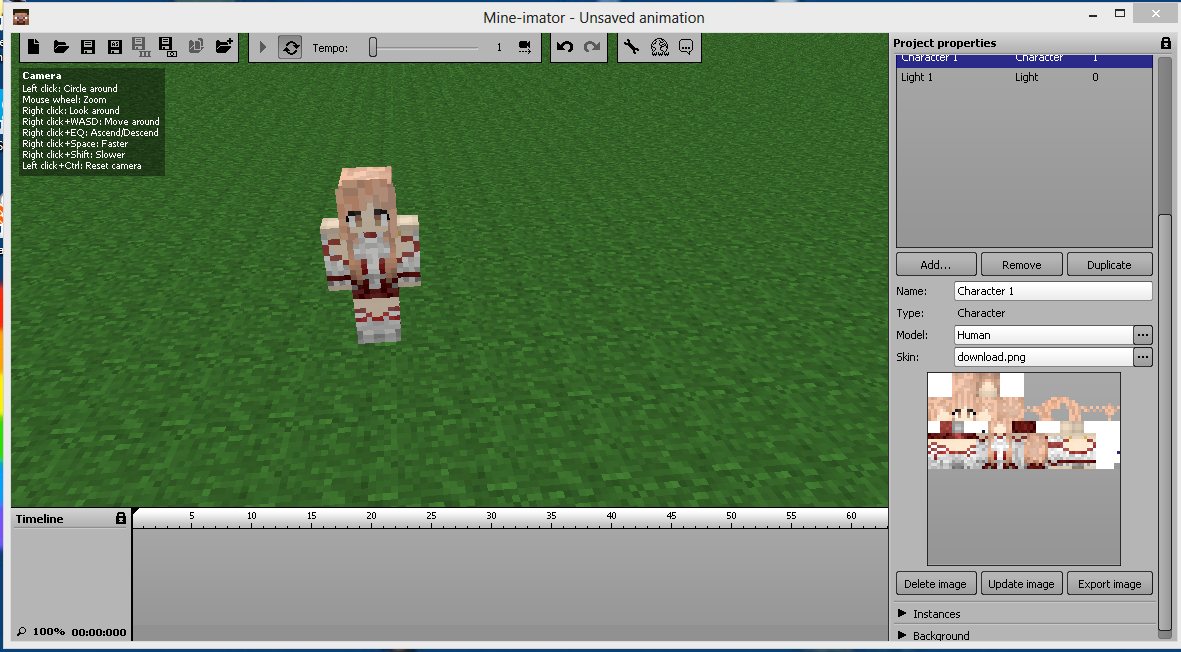
##Mine-imator instructions
##Cinema 4D template
To simplify the process, we have a configured scene.
Download the template for cinema 4d novaskin-wallpaper.zip (1.3 MB)
This template has everything configured, all you need to do is to build a scene on top of that.
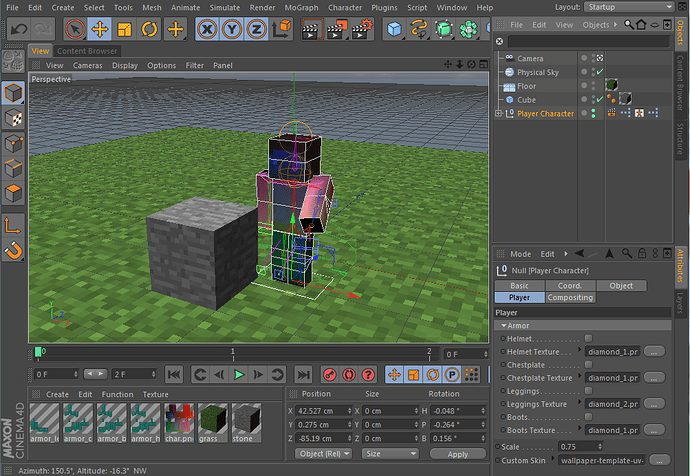
The player RIG is based on WeedLion’s rig, but we changed some things, updated the texture mapping, added some xpresso, object buffers and compositing tags.
###Create a scene
- I recommend you to start downloading the Cinema 4D Minecraft Packs and Rigs from WeedLion in the minecraftforum, watch some of the tutorials if you are new to this.
- There are some settings that are important
- In edit > project settings, keep linear workflow disabled. It is important!
- Use the steve from our template, make copies of them if your wallpaper has more than one player, or if you prefer, add the player preset as you did with the other resources from the minecraft pack.
- You can use your existing projects, but you will need to replace the players with this RIG, you will also need to configure the render settings manually, here are the step by step instructions.
###Render
- There are two render settings, you can check both of them in menu render > edit render settings.
- Render Background
- render the frame 0
- the background with anti-aliasing
- invisible players
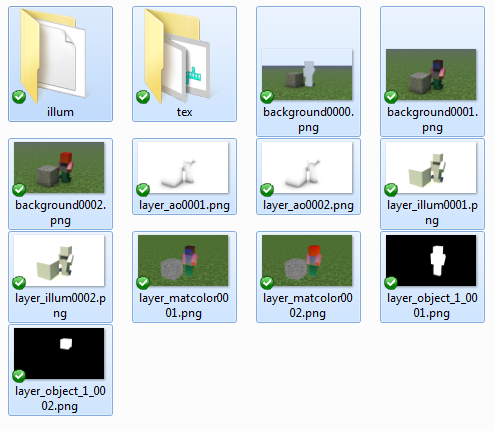
- save the image as background0000.png
- Render Layers
- render frame 1 and 2
- frame 1 is the player without the hat
- frame 2 is the player with hat
- anti-alias is disabled and it need to remain disabled.
- render a multi-pass image
- object buffer 1, this is a black and white mask of the player (frame 1) and only the hat (frame 2)
- material color, this is the raw player texture where from we extract the uv coordinates.
- illumination and ambient occlusion are used to apply light effects to the player.
- save the images prefixed by layer
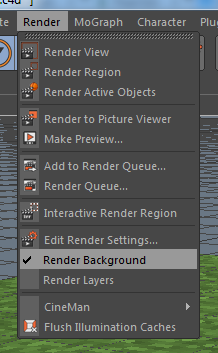
#####Switch between render settings using the menu.
- select render background
- render to picture viewer
- wait the render to finish
- select render layers
- render to picture viewer
you can automate this task with the render queue.
###How to test
- go to the folder where the render output was saved
- open layer_matcolor0000.png and layer_matcolor0001.png in a image editor program (gimp, paint.net, photoshop) and export the image as png. This needs to be done in order to save the image with a color profile suitable for web.
- Photoshop: Open the images and click file > save for web.
- GIMP: Open the image, click file > export and replace the existing png image.
- paint.net: Open the image and save it.
- visit the wallpaper test environment.
- select all the files from the render output and wait for the wallpaper to be generated
- check if everything looks ok.
- the players in the wallpaper should have their skin replaced with the test ones.
###Publish it
- if the wallpaper looks good, send all of the backgroundxxx.png and layersxxx.png to to wallpapers@novaskin.me
- you can also upload the files here (.zip files please, also include your contact information in a text file), also send an e-mail with your contact information and the wallpaper name.
- include a title suggestion, your name, your contact info (like a link to your website)
- I’m planning to make a better upload system, but by now e-mail works fine.
###email: wallpapers@novaskin.me
####links
- cinema 4d tutorials
- Video tutorial by @Tourobaba (english below or in Portuguese)
- you need to select PNG-24 when saving the images for web in photoshop
not png-8 as shown in the video, sorry for the confusion.


 should be easy to find.